Van Life Japan | Our 2 Easy Off-Grid Solar Electricity Systems
You are here:
- Home
- Van Life DIY
- Van Life Japan | Our…
Having access to power was a really important factor for us when building our DIY camper van since we both work online and need to charge our laptops, phones and pocket wifi device in order to be able to work. Before we started building our van, we had no idea about what to do to ensure we always had access to power. We were complete amateurs!
The main priority for us when making our off-grid solar electricity system was the ability to be able to live off-grid. We wanted to avoid having to connect to mains electricity to charge up since this usually requires a fee of around ¥3500 to be paid to a campground and being off-grid also reduces our impact on the environment.

We currently have 2 different power systems set up in our van. When we first built our van we set up power system 1 but realised that with both of us working online, we needed more power in order to be able to charge our laptops. While living in Tokushima prefecture during the COVID-19 lockdown, we had time to add another power system in the van which we will refer to as power system 2.
If you are travelling alone or are a couple that don’t use heavy duty devices like rice cookers or laptops then power system 1 will most likely be enough power for you. If you work online or tend to use heavy duty devices frequently then we would recommend you to use power system 2.
Recommended for: people travelling alone / couples who don’t require much power

A portable power supply is a large battery which can be recharged many times via mains electricity, solar energy or the car cigar socket.
There are a few companies in Japan selling portable power supplies and some famous brands include Jackery, Bluetti, Suorki and EcoFlow. Each power supply has a different capacity and you can check on the amazon listing or websites of these companies to check how many times they can charge devices like laptops or mobile phones.
The portable power supplies are quite expensive to purchase but are worth it if you want the convenience of always having access to power. They are also silent when operating unlike old style generators which require gasoline to operate and are very noisy.
For our power system 1, we used the Jackery 700 portable charger.

You can charge the portable power supply using a solar panel. We use a 100 watt solar panel from a company called Renogy to power our Jackery 700. We like this solar panel because it has many attachment holes and can easily be attached to the top of our van.
The maximum watt input into the Jackery 700 is 80w and on sunny days 65w of energy is produced by our solar panel which then charges the Jackery 700. We love using solar energy since it is free! Even on cloudy days, a solar electricity system can still produce some energy but of course sunny days are the best since more energy will be produced.
This cable will connect the solar panel to the portable charger. You need to make sure you purchase the correct positive and negative cable that matches with the solar panel you purchase. You can check this by looking at the images closely on the amazon listing or the website.

Since we attach the solar panel on the roof of our van. The MC4 – 8MM cable is not long enough so we use a DC MM extension cable which attaches the MC4 – 8MM cable to the portable charger.

If you are installing a solar panel onto your roof you have the option of choosing between a rigid solar panel or a flexible one.
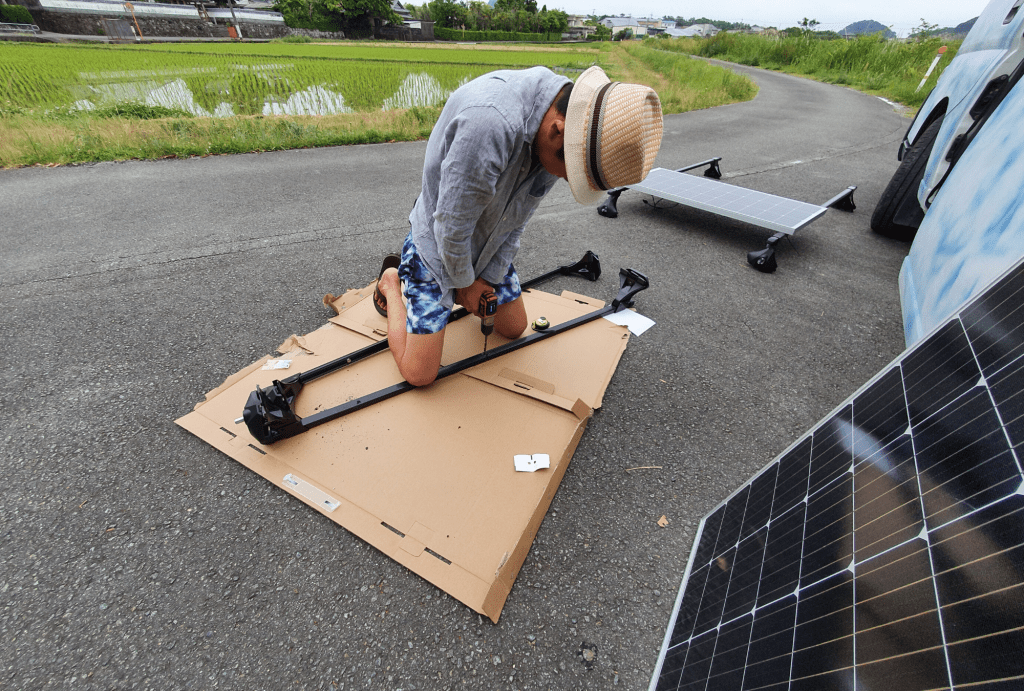
We chose a rigid solar panel after reading many reviews. If you choose a rigid solar panel, you will need to have roof carriers so you can attach the solar panel. Our roof carriers were very easy to install and are from a company called Inno.
Recommended for: people travelling alone and couples who work online or use a lot of power.

The EcoFlow Delta is another portable power supply and it has a larger capacity than the Jackery 700 so that is why we decided to use it. It has the ability to charge 13 devices at the same time and can be charged from 0% to 80% within one hour when connected to mains electricity.
The Ecoflow Delta also has the ability to charge appliances which require more watts to operate such as a hairdryer, takoyaki machine or microwave oven.
The EcoFlow Delta comes with all the cables you need to connect a solar panel to the charger directly so you don’t need to worry about buying extra cables.
To charge the EcoFlow Delta portable charger it is possible to charge it using a maximum of 400 watts of solar energy. We don’t have enough space on our roof to install 400 watts worth of solar panels so we decided to install 2 more 100 watt solar panels from Renogy.
We connected them together to produce 200 watts. On sunny days, we have seen 176 watts of a maximum 200 watts being produced which we are very happy with.
A parallel connector is required if you want to connect 2 solar panels together. In our situation, we connected 2 x 100 watt solar panels together to create a connection which provides 200 watts. The parallel connector was an easy solution for this.

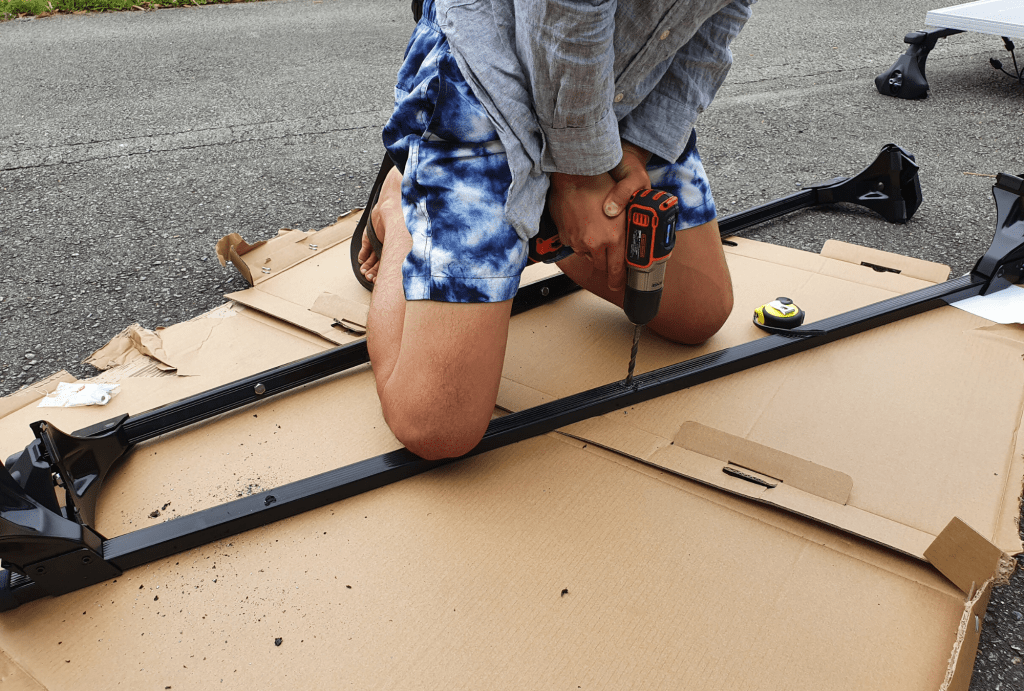
As mentioned previously, we use roof carriers from Inno. We drilled holes inside the roof carrier so we could attach the solar panels with stainless steel bolts. We found these roof carriers very easy to install and they are of very high quality.
After setting up either of the power systems mentioned above, you will have a simple solar electricity system that you can use to operate all your devices.
You may have seen in some of our videos that we also installed a plug socket inside our van. Our friend who works as an electrician offered to do it for us. This means that when we have access to a power supply, we can plug in our van and use the electricity like how you would use it in your own home.

We are really happy we added this option to our van but to be honest we haven’t used it very much since we usually camp in places without access to power. The power system using the solar panel and portable charger have been more than enough to provide us with all the power we need. If we stay at more campsites in the future that provide power, then it will be great to have the plug socket available.

Here is a list of some devices we have charged in our van using our solar electricity systems:
I hope this blog post was helpful for anyone who is interested in setting up a solar electricity system in their DIY camper van.
DISCLAIMER: Links included in this blog post might be affiliate links. If you make a purchase through the links that we provide we may receive a small commission. There is no additional charge to you! Thank you for your support, it helps us continue to provide you with free content each week!